Replacing elements
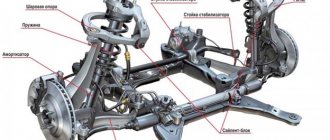
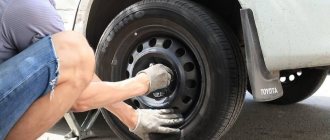
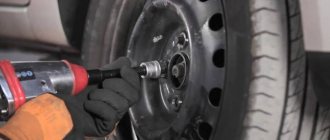
You can replace worn parts yourself. At the very beginning of the repair, it is necessary to raise the car's axle. To do this, you need to tighten the handbrake and install reliable wheel chocks. The easiest way to lift the axle is with a jack, although you can also use a lift. This will position the entire suspension in balance. This procedure is required to prevent the stabilizer from pulling the entire suspension down. Otherwise, it will be impossible to install new racks
It is also important to clean the repair area, and this should be done even if there is no dirt as such
The rear stabilizer struts are usually replaced first for convenience. First you need to grab the end of the axle shaft. To do this, you need to insert a hex key of the appropriate size. Then you need to unscrew the nut that secures the stand itself.
The vacated space should be thoroughly cleaned. Now you can insert the new stand. However, you cannot immediately tighten the nut completely, since after returning the car to its original position from the jack, it is necessary for the part to take the correct position. This is done only at the very end of the procedure.
The front strut is a little more difficult to change. It all starts in the same way as in the case of the rear one: the axle shaft is secured, the nut is unscrewed. Next, remove the thrust washer (usually called the cup) and loosen the stem nut.
Only after these procedures can you remove the bolts, having first loosened them. If the original is being replaced, it is better to release the brake hoses before disconnecting the strut. In other cases, you can do this after dismantling. Now you can insert the part and assemble it in reverse order.
Preparing the car for replacing rear shock absorbers
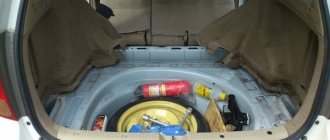
First of all, before replacing the rear shock absorbers, I put the car on wooden blocks, dismantled the trim in the trunk and filled the lower nut with a liquid wrench (similar to WD-40). Since the bottom nut is exposed to all the elements, it is a little rusty. To unscrew it, I set the key to 19 and rested it with a jack. After briefly tapping the nut with a hammer, it gave way and was safely unscrewed, also on the second side.
Unscrew the lower nut securing the rear shock absorber
Next, you need to loosen the shock absorber rod nut; to do this, insert a hex key into the end of the rod and use a spanner to remove the nut.
Loosen the shock absorber rod nut
After this, unscrew the two nuts and one bolt of the shock absorber cup, this is done to make removal easier. First, I unscrewed two nuts, they were marked with pink and purple paint, then I unscrewed the bolt from below and pulled out the shock absorber drain.
All rubber bands, washers and spring gaskets on the shock absorbers are in good condition, there is no need to change them. So to replace the rear shock absorbers, you only need to purchase the shock absorbers themselves.
Removed old shock absorber (original KYB)
We disassemble the car's shock absorbers
Then, using spring ties taken from a neighbor in the garage (you will have to buy one for yourself, the ties are the simplest, I saw them in a UAZ store for 220 rubles), we compress the shock absorber spring, unscrew the upper rod nut completely and disassemble the shock absorber in parts.
Shock absorber spring compression
Disassembled old rear shock absorber
All components were cleaned and washed, the condition seemed to be slightly used. Only the springs could be tinted at the points of contact.
Assembly and installation of new shock absorbers
Now you need to assemble everything in the reverse order, since the old rubber bands are still there; the place for the spring has already been pressed in, so there is no need to remember the position, everything is assembled simply and quickly. We do not tighten the shock absorber rod nut too much; it is finally tightened when the car is already standing on both wheels. Therefore, shock absorbers are replaced at the same time, left and right.
New rear shock absorber KYB 341816 assembly
New suspension shock absorber ready for installation
We install the shock absorbers, tighten all the bolts except the top nut of the rod, with the tightening torques specified in the instructions, lower the car onto the wheels, tighten the nut of the rod. And as a result, we enjoy the performance of the new shock absorbers during the trip.
